|
| Polished Pewter |
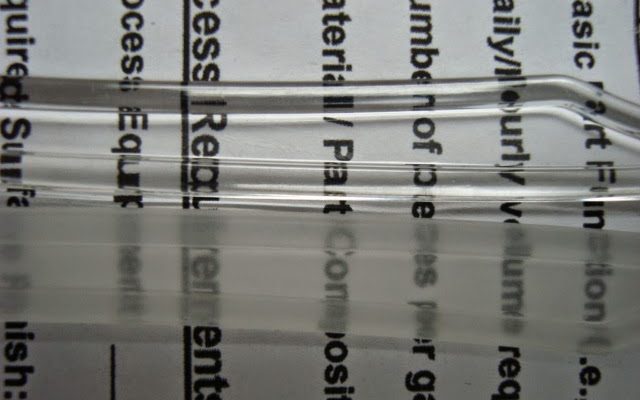
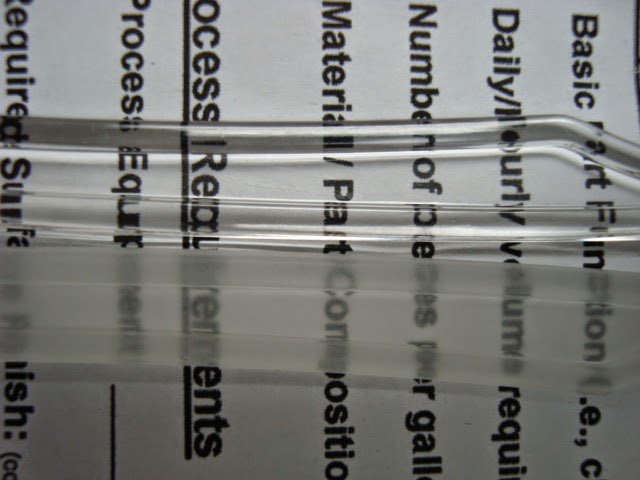
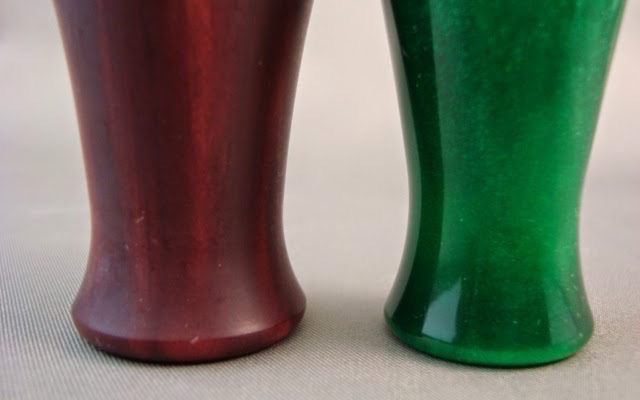
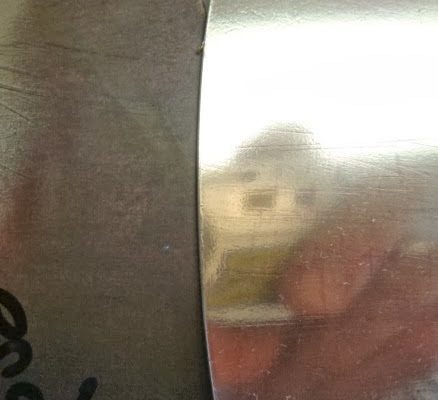
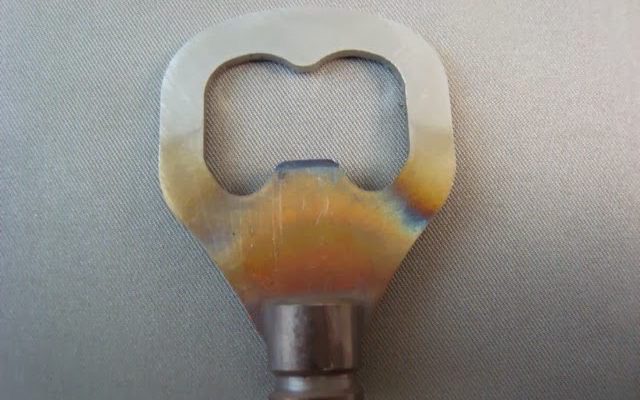
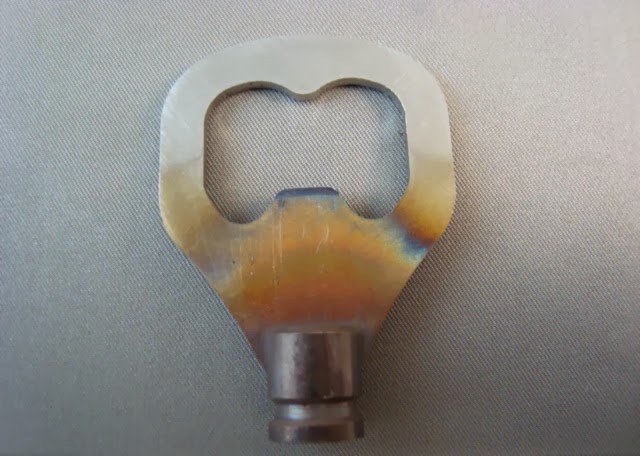
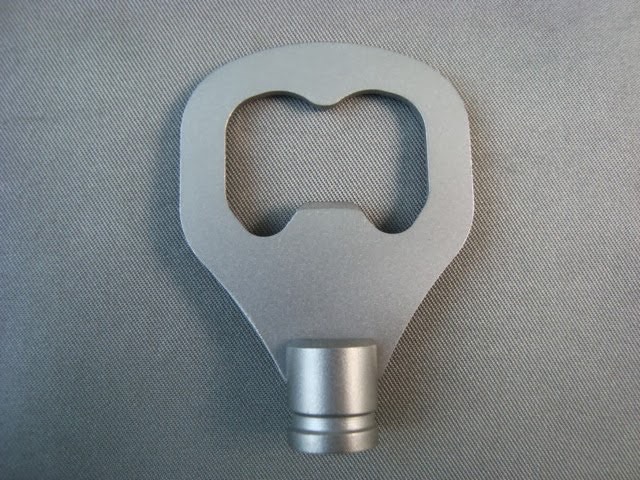
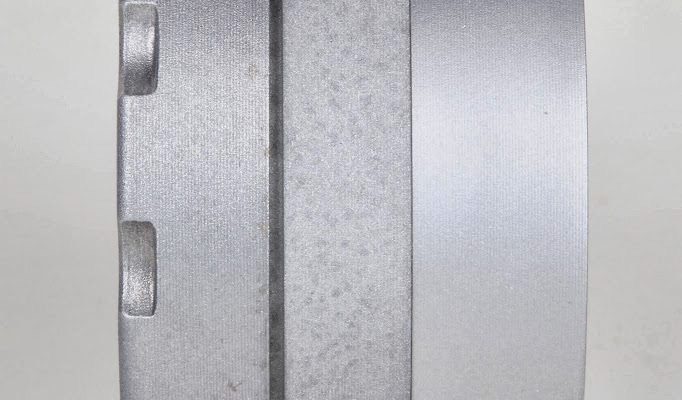
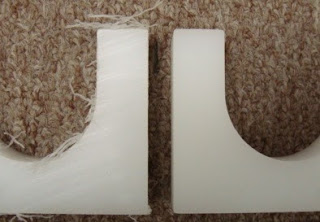
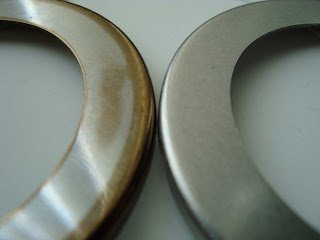
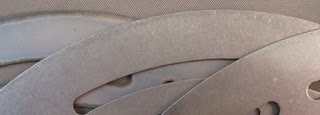
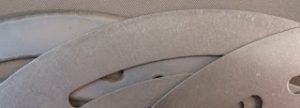
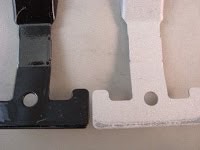
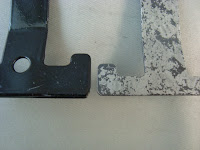
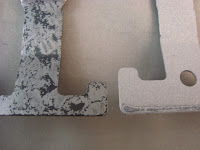
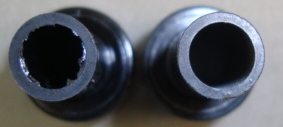
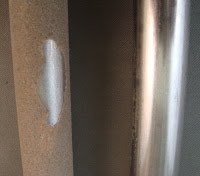
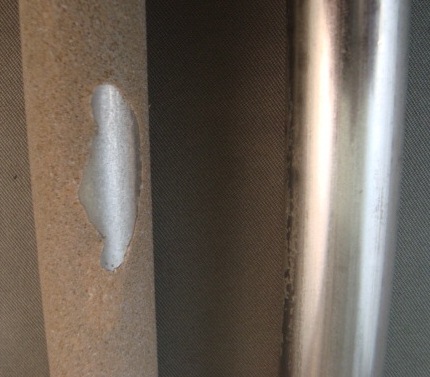
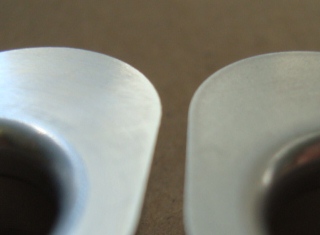
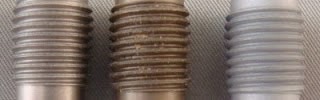
When cast, lead-free pewter has a dull surface finish. This metal is often used for decorative purposes and a highly polished, near-mirror finish is often desired. Since pewter is a relatively soft metal, a harder, heavier media can often be used to polish the pewter in a single step.
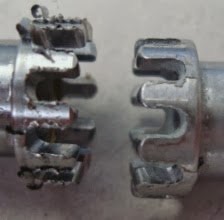
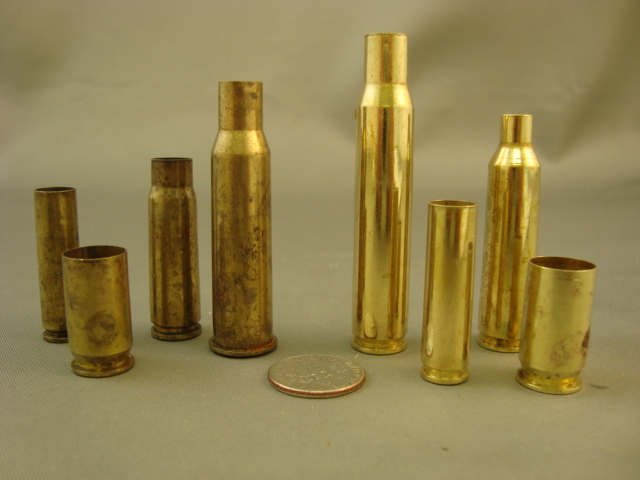
The parts pictured above originally had a matte, dull surface finish. After barrel tumbling for only 2 hours with a Stainless Steel Tumbling Media and a mildly acid compound solution, the parts (as shown) have a bright, clean, near-mirror surface finish.